I’ve been wanting to make a pie, a peach pie to be exact! I also wanted to do something a little funky with it. So, I decided to bring the funk by doing something different with the top crust. It was super fun to play with, too! The adult answer to play dough! The Rock Star and our offspring like berries so I made the official flavor “Peach Blackberry Pie”. I made my own crust but, feel free to buy a crust! There is yet another Grandma story regarding pie crust. My family used to host an annual pie supper. Seriously good stuff right here! Every family shows up with a pie or two and like the name says, we have pie for supper! All the sweet pies you can imagine with a smattering of savory and even the pizza pie make their appearances. Apparently, the men of the family decided to voice their opinions about all the “Store bought pies and crusts” that had replaced their homemade counter parts over the years. My grandma, savvy as she was, popped her bought crusts and even went as far as whole pies, into her own pie plates. The story is that some of the nay sayers went on and on about “Pat’s amazing homemade pies”. My grandma and the other ladies, no doubt had a good laugh at that! She was one of the best this world has ever seen, I tell ya!
On to my pie… I recently was approached by a photographer who found me online and asked if I would be interested in collaborating on some shots. I was completely thrilled since most of my imagery has been coming from my iPhone! What a treat it will be to be bringing you a higher caliber of photography over my next few posts! It also inspired me to stop putting it off and get a real camera and learn more about the craft so I can bring more and regular quality images to this blog. I have a lot of work to do in that area, but you’ve gotta start somewhere, right? So, this guy and his wife show up and I have no idea what to expect. Will they be cool? What if they turn out to be jerks? What if he’s bossy and rigid? I definitely had some trepidation! Thankfully, James & his gorgeous wife Kie were wonderful! Super chill, salt of the earth types! Not only that, but our images were awesome! I’m very excited to be elevating the look this week and to have had so much fun doing it 🙂
Now for the recipe! For my crust, I used this recipe. I am not trying to reinvent the wheel here. It’s pie crust and this recipe is tried and true from the one and only Martha Freaking Stewart. I love this bitch.


You will need the following:
Pie Filling
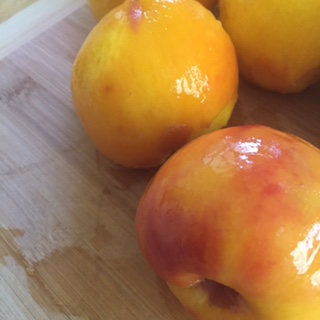
- 5 ripe peaches, peeled, pitted and sliced thin. A tip for peeling the peaches is to drop them into boiling water for about 30 seconds and then immediately into ice water for about a minute. Remove from water and the skin will slide right off. You’re welcome!

- 1 cup blackberries, lightly mashed
- The juice and zest of one lemon
- 1/2 cup brown sugar, packed
- 1/4 cup sugar
- 1/4 cup flour
- a pinch of salt
- 2 Tbsp cinnamon, less if you don’t care for powerful cinnamon
- 1 Tbsp butter
- 1 beaten egg
Directions:
- Preheat oven to 375 degrees.
- Whisk together dry ingredients in a large bowl.
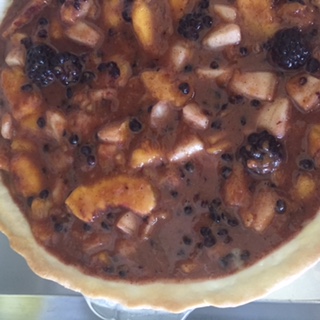
- Add peaches and berries to dry mix and toss until fully coated.
- Immediately pour into prepared crust. Don’t make this ahead of time or the sugar will start to macerate the fruit and your filling will be too runny.

- Once I had this part done, I laid my top crust (which I had previously rolled out) onto a flour dusted counter and sliced it into one inch strips. I reserved three strips, about a third of the crust, for “leaves”. Next, I rolled the remaining strips into round snake like “vines”. I then, began swirling and overlapping them across the surface of my pie.

Once that was done, I turned my triangles into shapes resembling leaves. I brushed the beaten egg around the rim of the pie as “glue” and layered the leaves all the way around. After that, I used my egg glue to add leaves randomly to the vines.


- Once I had my crust laid out as desired, I gave a light brushing with the egg wash and baked for 40-50 minutes loosely covered with tin foil to prevent over browning. Once your filling is thick and bubbly, you are done!


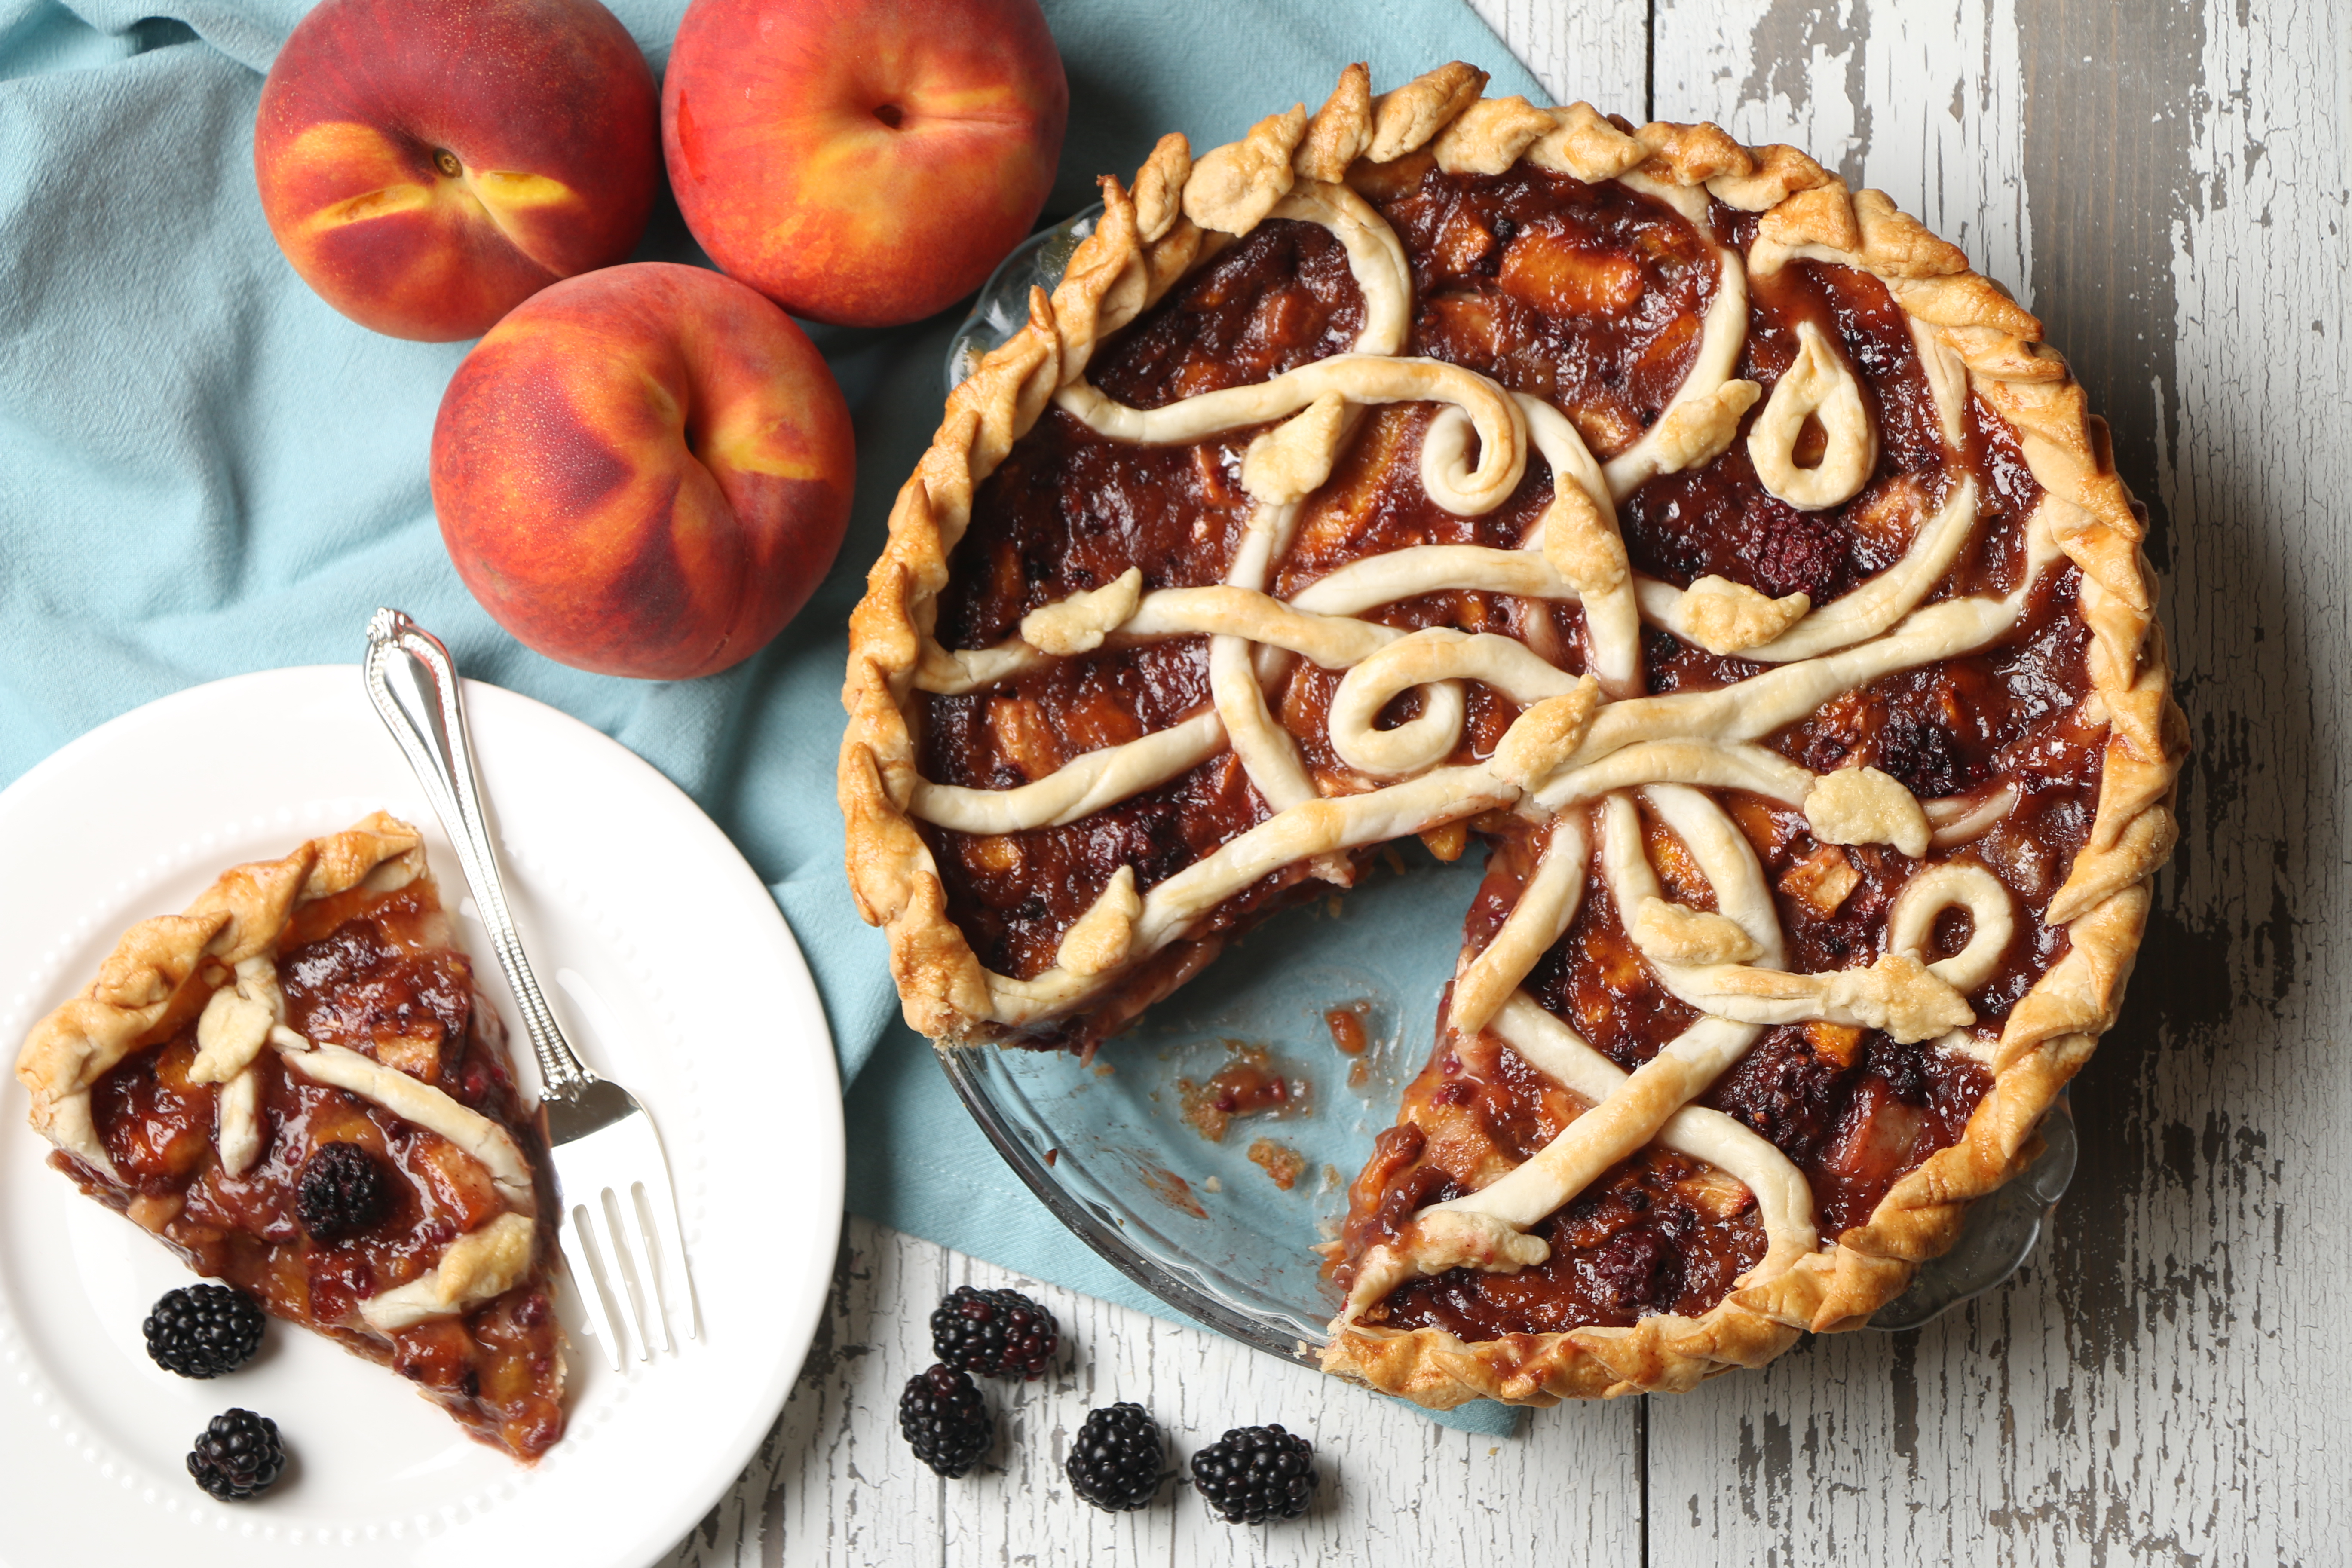
Of course, if you like, you may do a more basic top crust, but why not be creative? Make a basket weave lattice or a cookie cutter star pattern! The possibilities are endless! Most importantly, have fun! Swearing Mom out.
